Embroidered Patches
An embroidered patch is a stand alone design embroidered onto a piece of fabric usually finished with a satin stitch edge that can be attached to items like clothing, caps, bags etc.
Supplies You Need for Making Patches
-
Echidna Medium Cutaway Stabilizer (20″ x 10yds)
$34.95 -
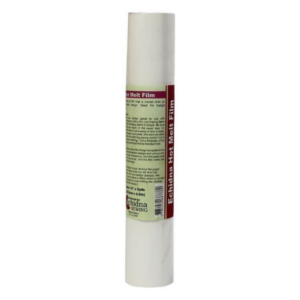
Echidna Hot Melt Film (12″ x 5yds) Ideal for Badges
$24.95 -
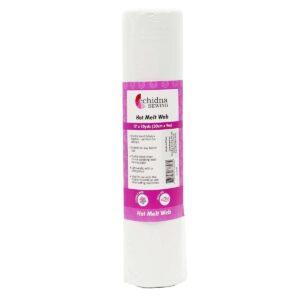
Echidna Hot Melt Web (12″ x 10yds)
$34.95 -
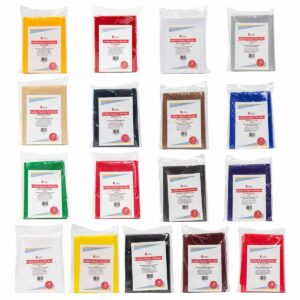
Polyester Twill Fabric
$16.95 -
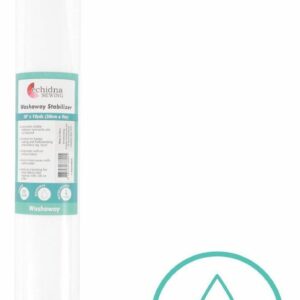
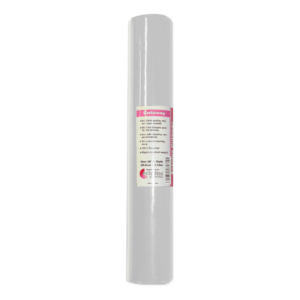
Echidna Washaway Stabilizer (20″ x 10yd)
$45.95 -
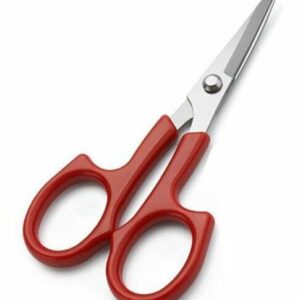
Small Curved Applique Scissor – Red Handled
$11.95 -

Echidna Stabilizer Essentials Pack
$49.95 -
Embroidered Patch Designs
$10.00 -

Let’s Make Custom Embroidered Patches! Virtual Session Recording
$37.00
How Do You Make a Patch?
Making a patch is really similar to creating an applique design. There are a few different methods but the best way I’ve found for making patches which are sturdy but not chunky and last really well is:
- Hoop up some wash away stabilizer – wash away stabilizer is the fabric looking kind of stabilizer that you can dissolve with water (the “plastic looking” water soluble stabilizer kind isn’t strong enough to use for this – that’s better for using on top of fabric to hold the pile of fabric down)
- Attach some cut away stabilizer to the back of your fabric to support it. I usually use a fusible cutaway or regular cut away stabilizer with some hot melt web or heat and bond to hold it together. This is especially important if you’re using stretchy or really delicate thin fabric to avoid the fabric being pulled out of proportion and bunching of the fabric.
- Stitch the first placement stitch of the design on the wash away stabilizer then add your fabric to the hoop (secure it with tape to the wash away stabilizer – you don’t need to go crazy with it) then stitch the tack down stitch.
- Take the hoop off the machine, be careful not to bump your embroidery arm, and cut away the excess fabric from around the tack down stitch. Put the hoop back on the machine and finish stitching.
- Once you’re finished, take it out of the hoop and cut away the excess wash away stabilizer from around the design (leave a couple of mm so you don’t cut the stitches). Then take a cotton bud (or a paintbrush or something) and dab away the excess stabilizer with warm water and leave to dry.
When they are dry, you can either machine or hand stitch them onto something or attach some Hot Melt Film to the back of the patch to attach the patches by ironing them on.
Upcoming Patch Events
If you need a bit of help learning how to make or perfect your patches or you just prefer learning in person – come join a class!
I do several patch classes (both virtual and in person) each year which are a fun hands on way to learn to make patches.
See my upcoming events below for more details.